Even before we moved to our off grid location I was making my own yogurt. I first tried it back in the '80s using an appliance that I had bought from Consumer's Distributing (Any well aged Canadians that remember that place?) It was a plastic box that you plugged in to heat and it had 9 small glass jars that the yogurt went into. I don't recall how long it had to be plugged in before you had yogurt but at that time in my life I really wasn't ready and only used it a handful of times. Fast forward some 20 years and we had moved to buying plain yogurt and adding our own jam/fruit and now I was ready to once again try a DIY.
By that time we had the INTERNET and I could look up the many different how-tos that were available. Of course there were the ones that suggested some source of heat and even ones that suggested leaving it in your oven with the incandescent light on as a heat source. The one that really stood out was one that did not require using additional heat to process the yogurt. Although we were still on the grid I was working on keeping our hydro use as low as possible. Shouldn't we all be doing that?
The no heat method uses a large wide mouthed thermos to keep the yogurt at temperature during the process. I had one of those handy and so it began.
Thermos Method Yogurt Making
1 bag of Milk* (my preference is whole or homogenized milk)
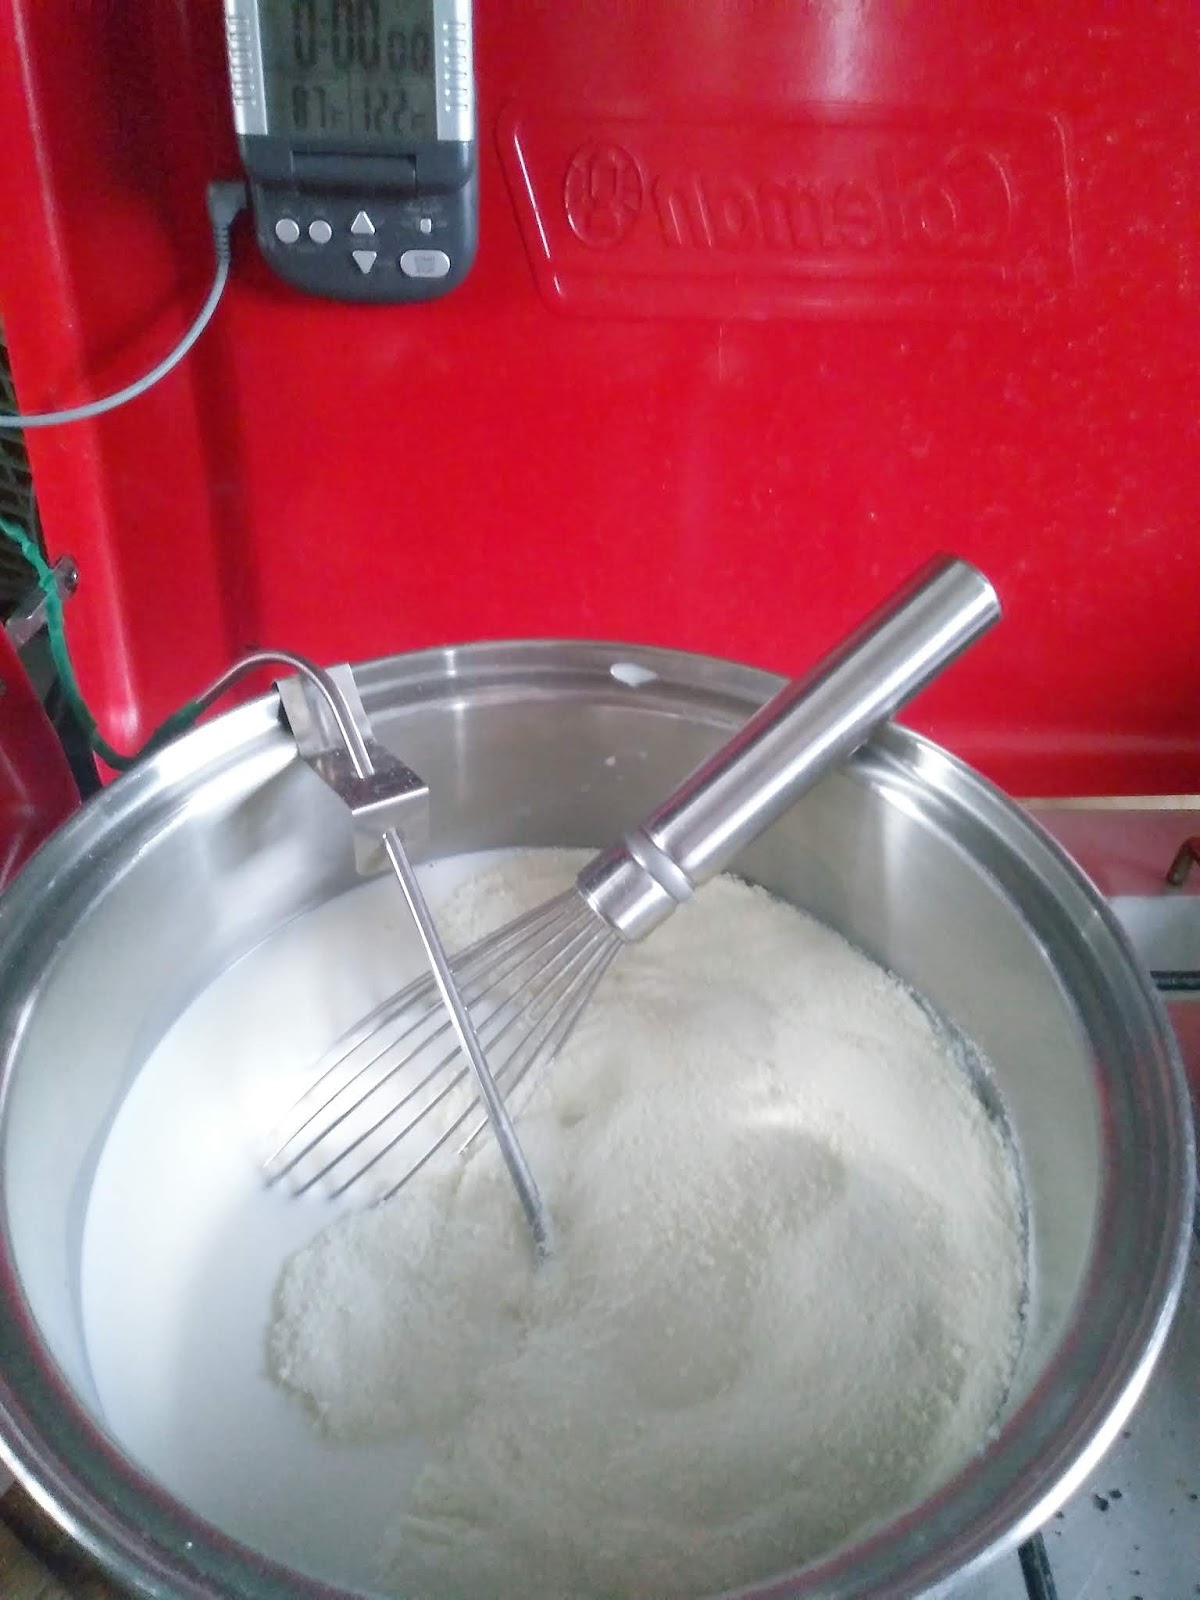
3/4 C of Instant Dry Milk
Scant 1/4 C of plain yogurt (room temperature)
* In Ontario Canada our milk comes in 3 bags that total 4 liters. That means I use 1 1/3 liters to make my yogurt. You can adjust to the amount that works for you.

3. Add the starter. Place the plain yogurt in a small bowl and stir until creamy. Slowly add warm milk to your starter to bring the yogurt closer to the milk temperature. Remember it is important that the milk not be too hot as it could kill the active components of the yogurt. After adding in a cup or so of milk stir the starter mixture into the remaining milk. Mix well.


4. Incubate the yogurt. Pour the yogurt into the thermos and cover. Keep the thermos undisturbed for 4-6 hours (6 works for me) Additionally I wrap the thermos and place it into a box to help keep it undisturbed and at temperature.


5. Refrigerate. Remove lid and place in fridge. You can pour into containers before or after it has cooled It will thicken slightly when completely cooled
6. Stir well and enjoy.

Eat plain or enjoy with some vanilla extract and honey or your fav fruit. We place frozen fruit in the bottom top with yogurt and enjoy at lunch once the fruit has thawed.
This means of making yogurt continues today on a biweekly basis for us and is terrific with being off grid but you can do it too.
We would love for you to share some of your favourite 'From Scratch' ideas. Help inspire us all.
Comments are what keeps a blogger motivated so even an 'Oh this is boring' comment is productive. Besides Tricia gets lonely with just Ed and the dogs day after day... ;-)
Looking for more on Northern Dirtbags? You can find us on Facebook, YouTube and Instagram
No comments:
Post a Comment